MS Outlook is a fast and secure webmail client to send and receive email messages. But many Outlook users face trouble while selecting a name in Outlook that is known as the name cannot be matched in the address list. The issue mostly occurs when a user adds a new mailbox to the Microsoft Exchange Server from the Outlook client autodiscovery. Though this issue is not a big massacre but the lack of technical knowledge might complicate things while working. So, I will explain to you to fix the error using simple methods.
Let us now see how this error occurs on Exchange Server and Outlook 2016. Keep on reading to fix the error in Outlook 2016 and older versions. Also, you can easily Transfer Emails From Outlook to Gmail.
Reasons Behind the Microsoft Error to Occur
The issue might pop up for many users simultaneously. So, users must know why they experience an error the name cannot be matched in the address list. Keep reading to know the possible reasons:
- Using an Exchange Analyzer tool can trigger the issue to appear.
- The user contact might be set hidden in the Global Address List.
- The issue can also occur when Active Directory is nonexistent in the Exchange Recipient services.
However, these complications can be resolved by following the step-by-step procedures which are explained in the next section.
Methods To Resolve The Name Cannot Be Matched Error In Outlook
The name cannot be matched in the address list error can occur in Outlook 2016 and Microsoft Exchange. To resolve the issue, you would need to unhide the user from the global address lists (GAL).
There are two methods to resolve the issue, follow them respectively:
- Solving the Issue in Microsoft Exchange Server.
- Solving the Issue in Outlook 2016 application.
Steps to Resolve, hidden user account from GAL in Microsoft Exchange 365:
- Sign In to Microsoft Exchange 365.
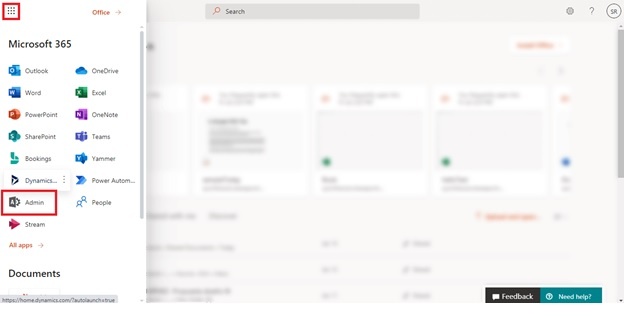
- Then, go to the App Launcher menu and select the Admin application from the panel.
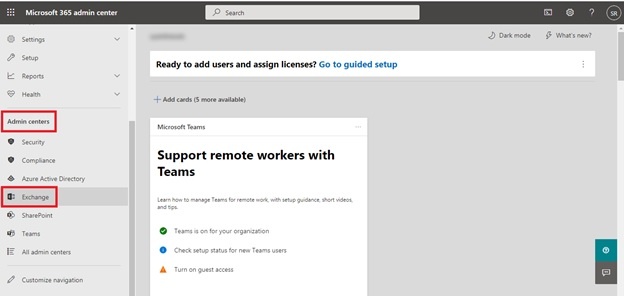
- Now, choose the Exchange option in the Admin centers of the Navigation Menu.
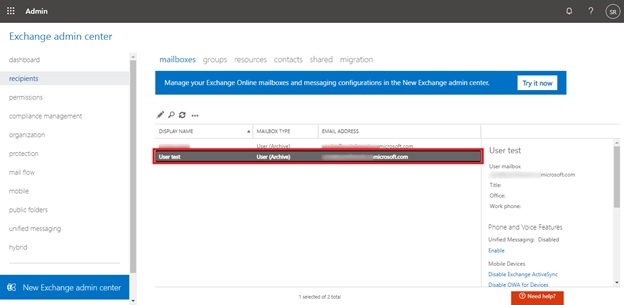
- In the Exchange admin center, choose the mailboxes option from the Recipient

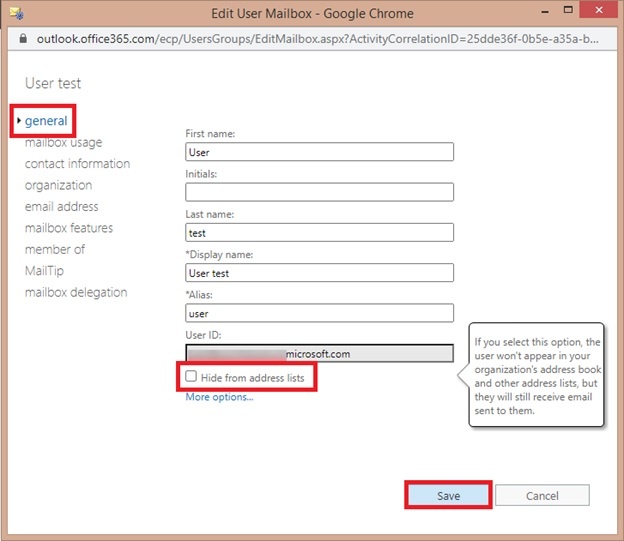
- From the mailboxes display box, double click your email account.
- In the dialog box, go to general and uncheck the Hide from address lists Click on the Save button.
Now, you can observe the visible changes in your Microsoft Exchange 365. But, to clear the error in the Outlook application, follow the given steps:
Ways to justify the issue in Outlook 2016:
- Open Outlook application and create a profile.
- Log in to Outlook as a user.
- You would need to open Exchange Admin Center.
- Select Recipient >> Mailboxes, and double click on the User account.
- In the general tab, uncheck the Hide option to show addresses in the contact lists.
However, if the given method didn’t solve, the name cannot be matched in the address list error. You can opt for the solution provided in the next section by clearing the credentials.
Steps to Clear Credentials from MS Office
Credentials are user ID and Password stored in Credential Manager of Windows. Follow the given steps to clear credentials from MS Office:
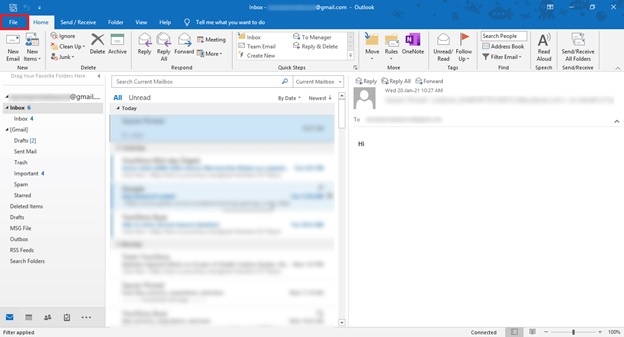
- Run Outlook application on your system.
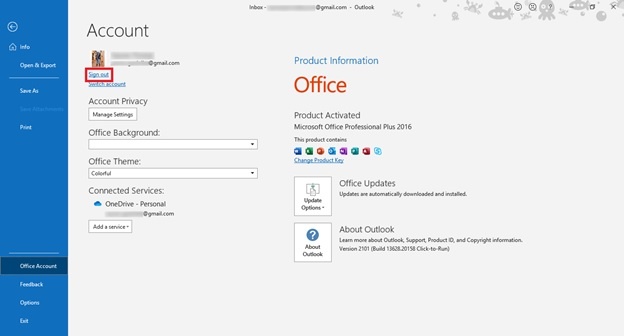
- Select the File tab and choose the Office Account.

- Click the Sign out option from the User Information section to logout from the existing account.
Remember, before proceeding with the next steps, close all MS Office applications.
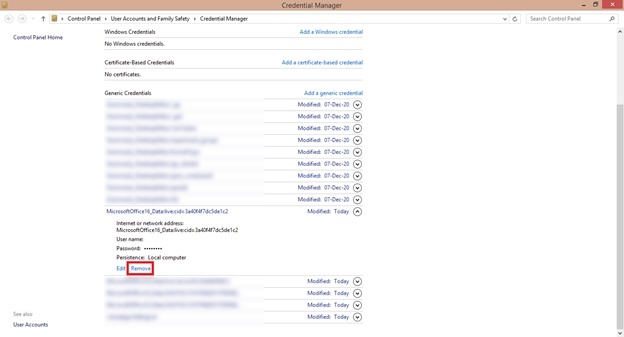
- Now, search for Credential Manager in the Start menu.

- Here choose the Windows Credentials tab.
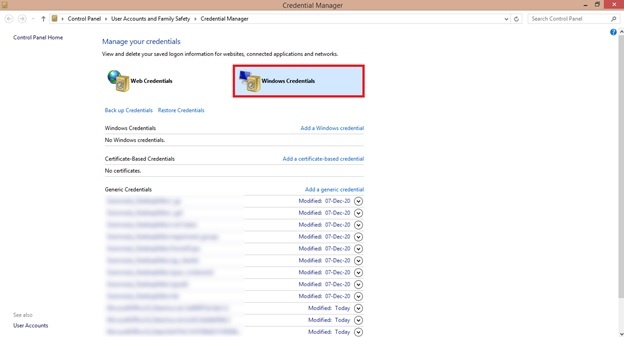
- Here, remove all the MS Office 2016 accounts that you have entered.
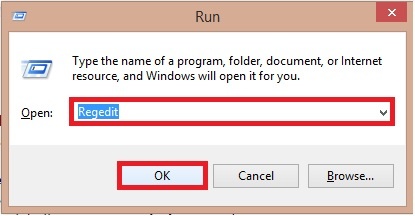
- After that, use the shortcut Windows + R to open the run command, type the Regedit command, and click OK.
- In the Registry Editor, go to HKEY_CURRENT_USER >> Software >> Microsoft >> Office >> 0 >> Common >> Identity.
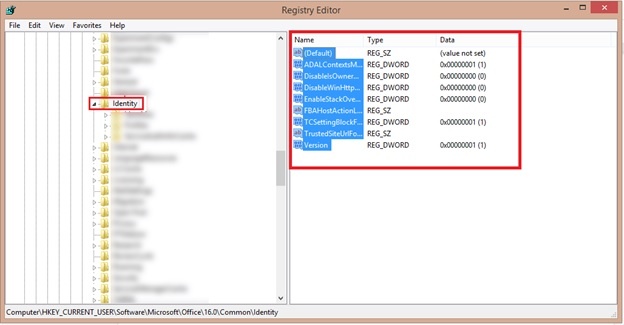
- Select all the files on the Identity folder and right-click to delete
- At last, you have to Restart your system to proceed with the process.
After the system restart, repair your MS Office application from the control panel to fix the name cannot be matched in the address list error.
To repair MS Office, follow the mentioned steps:
- Open Control Panel on your desktop.
- Now tap on the Uninstall to remove the MS Office application.
- Select your MS Office application, and click on the Change button.
- Next, in the dialog box, select Repair and tap Continue.
- From here you need to follow the instructions that will help you to repair MS Office.
After you have repaired your MS Office, reconfigure your Outlook account and check for the issue is fixed.
Sum Up
I have mentioned step by step procedures to fix the error, the name cannot be matched in the address list. The provided solutions are simple and easy for novice users to resolve the issue by following them. However, do not be in a hurry while clearing your credential. Otherwise, you may end up losing data from other Windows applications.