What is ‘ERR_CONNECTION_RESET’?
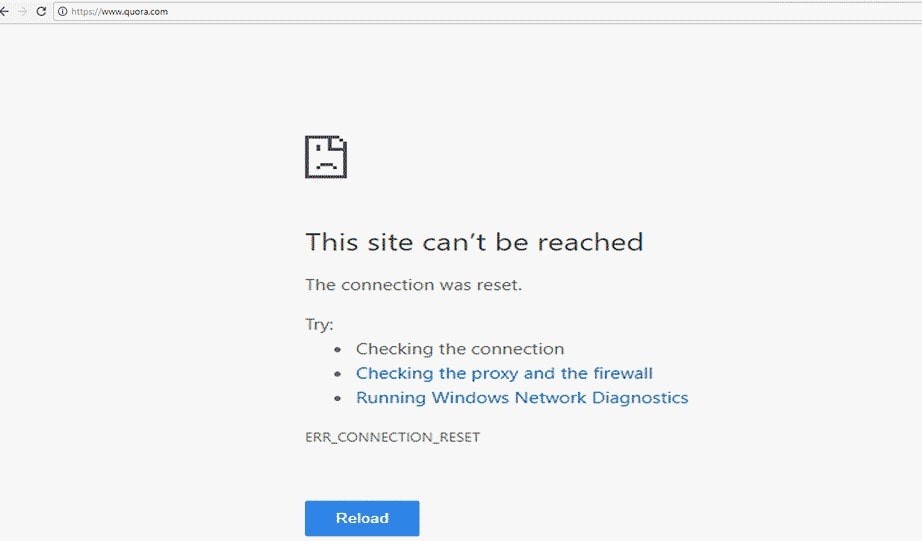
When Google Chrome displays the error “ERR CONNECTION RESET,” it simply means that the browser is unable to connect to the website you are trying to access due to either the Internet connection has been interrupted, the internet service provider has blocked access to the site, or the device’s network settings are wrong.
Overview of the Error “ERR_CONNECTION_RESET”
When trying to access a website and the browser is getting the error message “ERR CONNECTION RESET,” this indicates that the connection could not be made rightly. The connection has therefore been “reset.”
However, Internet Explorer, Firefox, and other browsers also show similar error messages like “The connection was reset,” which represents a connection issue. The error, which typically comes with the 101 code, is particularly prevalent on Chrome (Chrome’s browser). The “ERR CONNECTION RESET” message does not explicitly state whether an issue is related to the client, the server, or the network, unlike HTTP error messages, for example.
In technical terms, the browser only receives a FIN packet (finish) while connecting to the preferred web project as opposed to the standard reply package. The Transmission Control Protocol (TCP), the common transport protocol for the web, uses this to inform the client when a connection has ended. The “ERR CONNECTION RESET” error, however, prevents a previously formed connection from preceding the FIN packet as it normally does.
7 Best Methods to Repair the Error “ERR_CONNECTION_RESET Error”
1. Check whether the Website is Functioning
ERR_CONNECTION_RESET is often a client-side error, however, in rare occasions, it can also be initiated by a website. Therefore, before determining whether there is a problem with the computer, see if the website is still accessible to other users. Use a website server checker like Website Planet Is It Down Right Now? tool to determine whether a website is accessible from anywhere in the world. Simply enter the website’s URL into the tool and hit Enter to begin.
Users will be forced to wait until website administrators repair the problem if the server is down. If users own the website, let the hosting company know about the server outage. If users discover that the website is still accessible to everyone else, move on to the next step.
2. Disconnect from the Virtual Private Network (VPN)

The use of a VPN comes with multiple advantages, including preserving users’ privacy and allowing them to access geographically restricted information. However, VPNs are not flawless; occasionally, they can interfere with network connections.
It’s wise to briefly disconnect from the VPN if users use one before attempting to access the issue website again. The user’s VPN client is capable of disconnecting users from a VPN.
Below are the steps to perform using a NordVPN account:
- Open NordVPN Client
- Ensure users are connected to a server and click on ‘Disconnect’.
- Select the time period to pause the VPN connection.
- If the error message still shows, try the other techniques.
3. Reboot Network Device
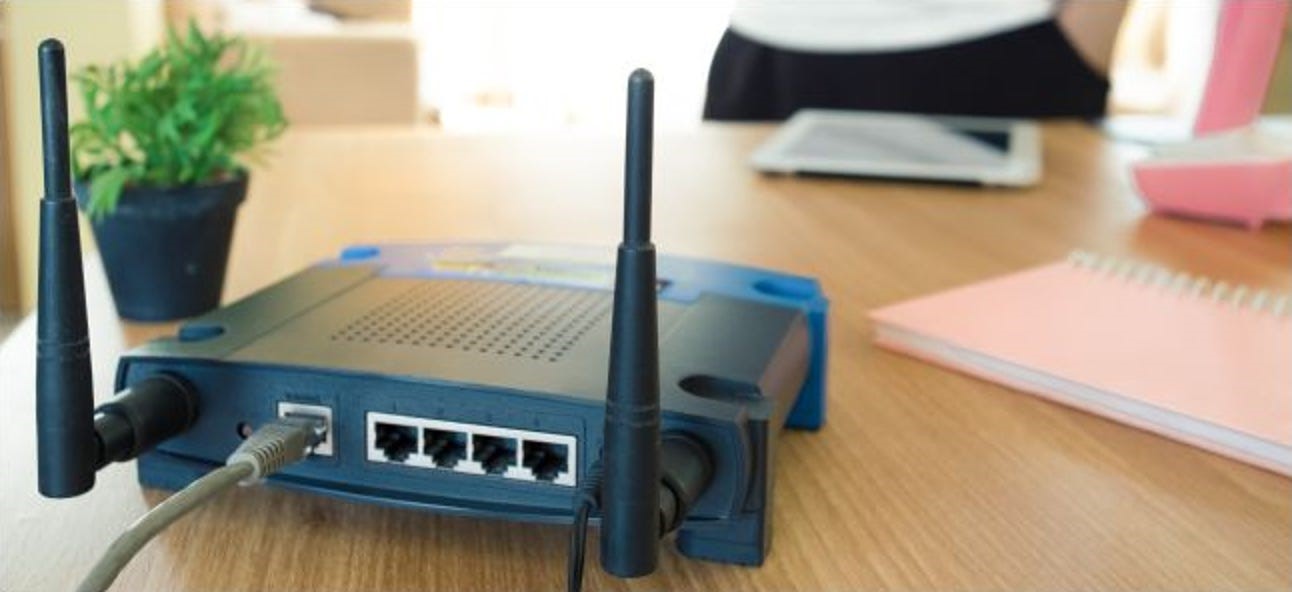
Rebooting a user’s network device or routers will often solve a variety of network connection problems. When users experience internet issues, it is important to utilize this strategy since it is among the simplest and quickest. Just disconnect the power line from the router, wait for nearly a minute or less, and then plug it in again.
If the issue is still not gone, try opening the page on a different computer that is right connected to the same network. If the error notice still shows, consider getting in touch with the internet service provider.
4. Clean the Browser Cache
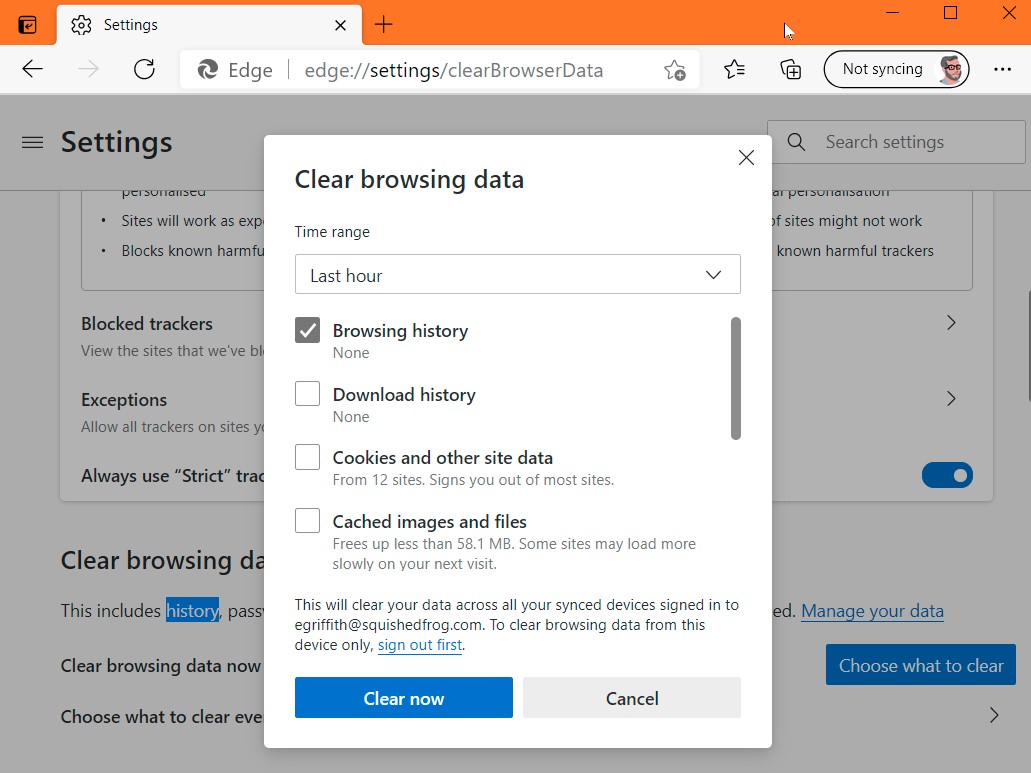
Google Chrome caches data to slow down page loads and provide users with customized web experiences. Sometimes, when the data in the browser cache may be out of date, this can affect the connectivity.
Follow the instructions below to clear the browser cache for Google Chrome:
- Go to the three dots menu, then select More tools, and then ‘Clear Browsing Data’.
- Select ‘All time’ from the Time range drop-down option.
- Ensure that all of the browsing data, including cached cookies, images and files, and other site data are selected.
- Choose “Clear Data”
5. Deactivate Firewall and Antivirus
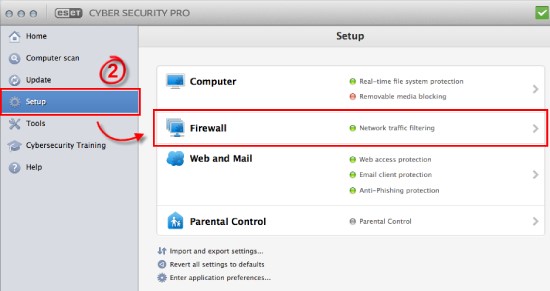
An antivirus and firewall program is necessary to protect a computer. However, some antivirus and firewall programs may mistakenly block completely secure websites. Whether users are sure that the website they are trying to access is secure, users might choose to briefly turn off their firewall and antivirus software to see if the connection reset problem is fixed. Depending on the software users use, special instructions will be needed to disable firewall and antivirus software. If users are unsure about how to perform something, documentation always helps.
For Windows, below is how to disable the built-in firewall and antivirus programs:
- Click on Settings – Privacy & security.
- Click on Virus & Threat Protection.
- Under the Virus & Threat protection settings, click on Manage settings.
- Turn off the ‘Real-time protection’.
- Navigate to ‘Firewall & Network Protection.
- Open each network profile-domain network, and public network, and turn off the Microsoft Defender Firewall.
After trying this method, don’t forget to turn the antivirus and firewall software back on. If users leave it off for too long, the computer will be prone to malware and viruses.
6. Inactivate Proxy Server Access
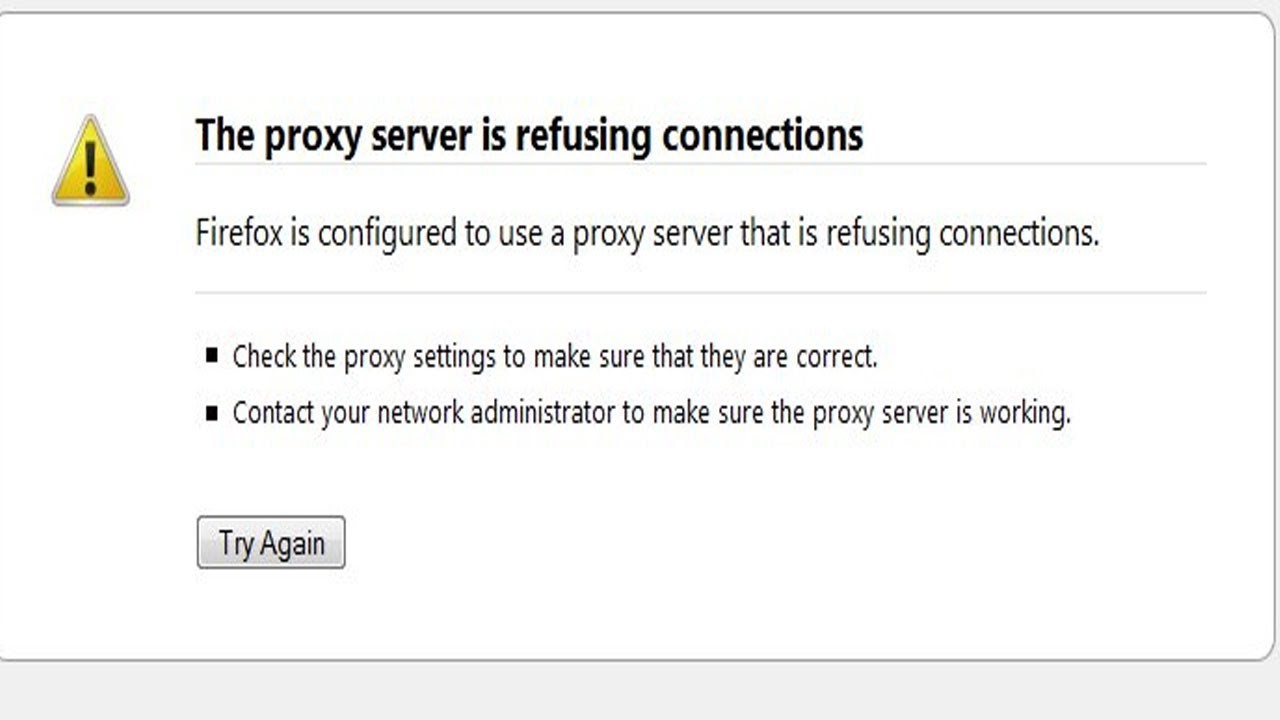
Proxy servers safeguard users’ online privacy by hiding their real IP address. Unfortunately, a proxy can also have problems like a being overloaded or dead server. If users use a proxy, they might want to consider momentarily turning off their connection.
To do it through Windows’ internet settings, follow the below steps:
- Navigate to Control Panel – Network and Internet – Internet Options.
- Click on the Connections tab.
- Select the LAN settings option.
- Uncheck Use a proxy server for the LAN.
- Tap Automatically detect settings.
- Click on OK.
Steps to change the proxy settings on the macOS device:
- Go to System Preferences – Network.
- Select the active internet connection.
- Open the Advanced settings – Proxies.
- Under the ‘Select a protocol to configure option, all protocols should be unchecked, and click on OK.
7. Retune TCP/IP Settings
TCP/IP is the most crucial component that enables a computer to connect to the internet. The data that the user’s computer transmits to the network will not be transferred if the TCP/IP configuration is wrong, leading to the connection reset error. At such times, try resetting your TCP and IP settings if every other method else fails. The default settings will be restored after performing this method.
Below are the steps to reset network settings of TCP/IP on a Windows OS with the command line:
- Press Windows + R keys, type ‘cmd’, and click on OK. Alternatively, users can also open the Start Menu and look for Command Prompt.
- This will show the ‘Select Command Prompt window’.
- Type each of the commands in the command prompt and click on Enter. Avoid running them altogether.
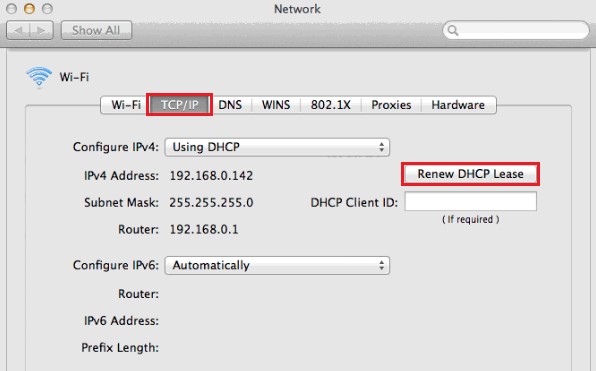
Steps to reset TCP/IP on the macOS:
- Go to System Preferences – Network.
- Select the active internet connection.
- Click Advanced – TCP/IP.
- Click on ‘Renew DHCP Lease’.
Last Lines:
As users might have experienced, Google Chrome’s ERR CONNECTION RESET problem can be resolved in a number of different methods. We hope that by following these commands, users were able to restart their browsers. To ensure that users don’t miss any new updates or technical fixes, be sure to bookmark this website. Please feel free to check back for further technical articles regarding various troubleshooting commands or news headlines about technology in general! We are Happy to Help!