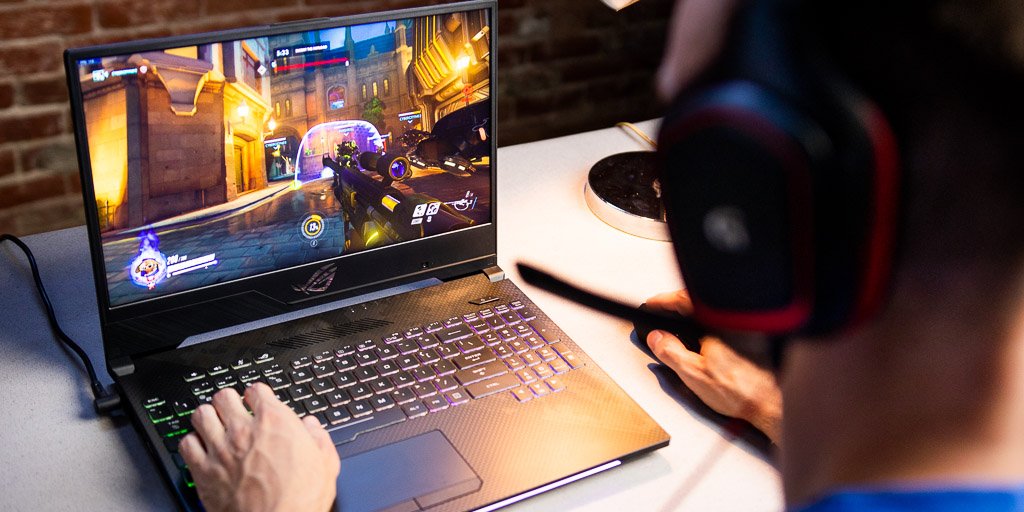
When you hold your gaming laptop in front of you with a powerful processor, a beefy GPU, plenty of important specs, and a lovely display, all you can be is eager to start using it. But wait a second! Before you start using the greatest and latest games from all over the PC gaming land, you will need to take a quick look at our guide that will allow you to set up your gaming laptop. Let us begin
Switch Off Mouse Acceleration
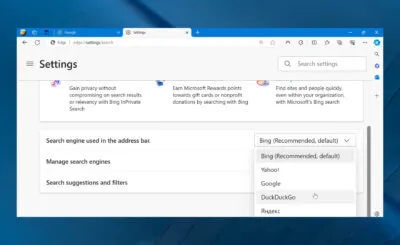
Windows 10 operating system comes pre-optimized with all kind of functionalities, but while many of them authentically make the OS a more pleasant experience, they do not assist if you need your device to be gaming center.
One of these features, dubbed as mouse acceleration, can hinder the sensitivity of your mouse while in the game, so turn it off by acting smart. Just press key combination Windows + Q and type “pointers.” Next, choose “Change the mouse pointer display or speed” option and un-tick the “Enhanced pointer precision” option.
You can now change your mouse movement speed in the particular menu of every game, without an exterior bunch of settings impacting its performance.
Change Your Update Options
Whatever your gaming satisfaction, no one needs to find themselves in the middle of the endgame in an RPG or about to win a match in a hero shooter, only for your device to abruptly power down as it begins applying and downloading the newest updates for the operating system.
In order to end this needless and irritating experience, go to Update & Security menu. This can be done by pressing the key combination Windows + Q and type “updates” in search bar. Next, you need to tap on “Windows Update” option.
This is the place where you can change your Active Hours. This means, any updates are applied beyond this time. Next, click “Advanced Options” and choose “Pause Updates” to pause them.
Turn Off Visual Effects On Windows 10
Windows 10 is a big step forward for the long history of OSs by Microsoft. But there are particular functions that are just a draw off on processing capacity. The visual effects that are by default triggered on are one such problem, so you will require turning them off if you need to evade needless frame rate drops and slowdown.
All you need to do is key combination Windows + Q and type “advanced settings.” Next, tap on “View advanced system settings” option and go to “Performance options.” Moving forward, you need to tap the “Visual effects” and “Custom” options. You can now un-tick everything from smoothing window edges to removing thumbnails, and save all that needless UI window dressing, which makes your device slow.
Upgrade GPU Drivers
For the first time when your gaming device boots up, it will have all its factory settings as default in position. That comprises the normal drivers that come with your GPU and those will almost surely be outdated and in requirement of an upgrade. If you attempt to play a game without this, your GPU will not be performing anyplace near the capability it must play with.
Relying on whether you have an Nvidia or an AMD graphics card in your device, you will require need to visit the specific links and install the newest patch. Make certain every driver is applied. It is then you will be capable of really getting that gaming device playing the best titles money can purchase.
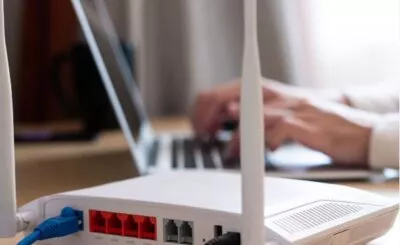
Switch Off Wi-Fi Sense
The reason you purchased a gaming laptop instead of a gaming PC is because you need to get out and show some skills that you have got. On the other hand, a particular function in Windows 10 will attempt automatically to link you to the closest hotspot or Wi-Fi signal, although if it is not safe. Taking into consideration the amount of money you have just invested in the device, this is the last thing you need to jeopardize.
The function that causes this problem is dubbed as Wi-Fi Sense, and to turn in off you will require pressing key combination Windows + I. Now, select “Network & Internet” option and tap “Wi-Fi.” Next, un-tick all the options below Wi-Fi Sense tab to turn off this unnecessary utility.
Install And Sign Up To Steam
While there are more delivery services for PC gamers than ever, Steam still stays the most popular and largest that too for good reason.
There are number of titles to select from, ranging from the biggest triple-A fare to indie hopefuls. You are bound to see number of games to offer your gaming device a serious exercise.
Go to the main page of Steam and install the Steam client to your device. Not only will this make sure that the platform is always updated, but it offers a method to authorize all your titles from a single central library. You will require signing up to utilize it, but it is free and well worth a try.
Put On Steam Guard
Whether you are new to Steam, or a long-term consumer, your digital games’ library is going to increase (particularly with those absurd Steam sales), so you require making certain those games are defended from attackers.
All you need to do is to take benefit of an extra service dubbed as Steam Guard. To trigger it on, go to Steam Settings and click on Account. Next, tap the “Manage Steam Guard Account Security” option and tap “Steam Guard.” You are done for the day.
This will add 2-step verification for your account, which will radically lower the odds of anybody authorizing your library without your approval. You will require downloading and using Valve’s Steam application too in order to finish the setup.
Overclock Using MSI Afterburner
You have got a powerful GPU in your new gaming device, and it is time to use as much power as you can from it.
If you need to enjoy the games such as Hitman 2 or Shadow of the Tomb Raider at their most smooth and gorgeous, you are going to require a piece of software developed to overclock your graphics card to its maximum capacity. And the answer to this is MSI Afterburner.
It operates with most GPU brands and efficiently allows you to increase and control the voltage of your graphics card. This can augment your graphics card’s performance, offering you more power for your titles.
Just be cautious, as regulating these settings can gravely heat up your device, so consider using it moderately.
Use Discord To Connect With Friends
While Skype is used to only hang out with friends for business purpose, any PC gamer might have used Discord as a method to chat and party up with friends.
It is just such a simple service to employ, with a plethora of customization choices, that it is an absolute must if you need to make VoIP-based parties and friendly chat rooms.
You can install Discord for free, but you will require to sign up prior to you can utilize it. You can create your personal group, but in order to join current groups, you will require a particular invitation link. It is a perfect app for doing the setup, and an “ought to” for your PC gaming device.
Razer Cortex: Game Booster
The Razer Cortex: Game Booster is one more smart piece of free software that allows you to optimize the performance of your new gaming laptop. In spite of being created by Razer (the peripheral manufacturer), the application can be employed with any gaming laptop or PC and will scan automatically your device and regulate your CPU, GPU, and memory settings so as to set up the device for more solid performance.
Now that you are aware of how to set up your gaming laptop, do not waste your time and start working and enjoy your favorite titles. Do let us know if the article was helpful or not by commenting below.