Screenshots, haven’t they been our savior on so many occasions, both for personal lives and professional lives? In technical terms, a screenshot is a digital image that captures the screen display as it is. We have also used screenshots on several occasions, including when trying to prove that you followed the protocol when replying to an official email or when drafting an explanatory protocol for the team to follow.
In this blog, we will be talking about such a screenshot tool which seems to have been falling back on technical growth for some time now, the Snipping tool. Keep reading until the end to learn what to do when the Snipping tool stops working.
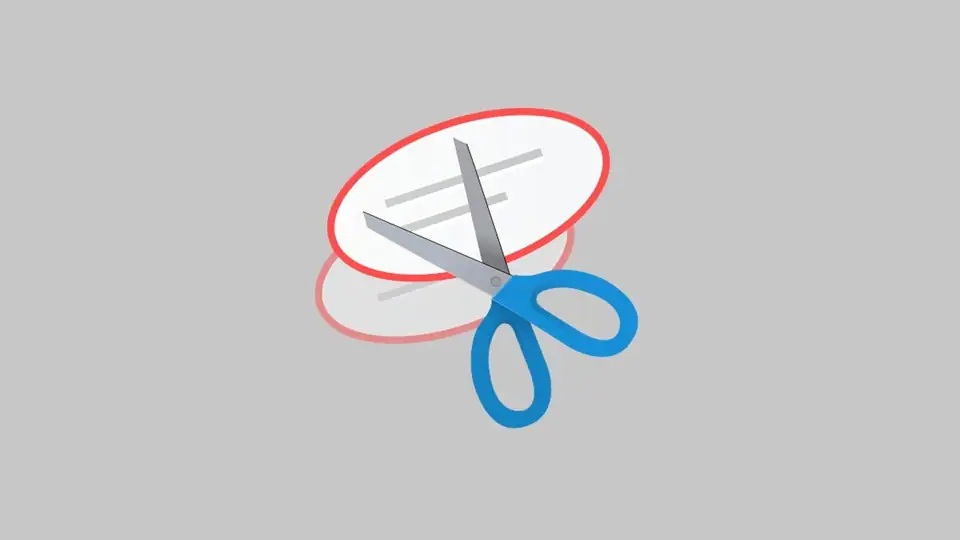
More information on the Snipping tool:
It is a screenshot utility tool designed for Microsoft Windows. It was launched with Windows Vista and has been a constant feature of all the later versions. Here are some features of the Snipping tool:
- It can effectively screenshot an open window, the entire screen, a free-form area, and rectangular areas.
- These snips can then be annotated using a tablet or a mouse
- The file can be stored in different file versions including GIF, PNG, and JPEG files. The users can store the file as an MHTML file as well or e-mail it to a recipient.
Although it’s one of the most user-friendly and an integral part of the Microsoft Windows system, sometimes it may not work as per your expectations. In fact, many users have frequently faced problems while using the Microsoft program. Most of these problems are caused due to storage issues and the message pop-up “Snipping tool not working” is becoming a common concern in Windows 10 and 11.
So what do you do when you are in the middle of writing an informative blog on your Microsoft Windows 11-installed laptop and the tool suddenly stops working? Well, there are more than 1 or 2 reasons that may be causing the tool to stop functioning. We have listed some main reasons below and also provided the solutions that you can try to bring the system back up.
1- Restarting a system can honestly solve a lot of technical problems. The IT guys aren’t lying!

Computers are like human brains. Just like humans require some downtime after a long and hectic day, sometimes all that a computer system needs, to function as it should, is a 2-minute break.
If you are using the Snipping Tool as a subset of file explorer, you can expect that this is where the main problem lies. When the file explorer service stops responding, the screenshot tool will not work. So the simple solution is to restart the file explorer service which can do by following any of these two steps:
- Press CTRL + Shift + ESC on your laptop and jump to Task Manager
- Alternatively, you can press CTRL + ALT + DEL followed by selecting Task Manager
Once you reach the Task Manager window, you will see a list of all the programs that are currently running on your computer. Scroll down and locate Windows Explorer. Once located, you need to right-click on the option and select the Restart option.
Do not panic when you see your screen acting differently. It is most probably restarting the File Explorer service. It is totally normal and expected. Once the screen is back to normal, try accessing the Snipping Tool. This should solve the problem if it is connected to File Explorer.
2- Maybe Troubleshooting should help
Honestly, the problem should have been solved using the first method. If it didn’t, we recommend trying to find out what exactly is causing the issue to get it resolved. Running Windows Update Troubleshooter is a great way of trying to get to the root bottom. Here are the steps to initiate a troubleshooting
- Press Win + I. This will open the Setting Menu on the laptop
- Look for Update and Security and click on it
- On the left side of the panel, go to Troubleshoot, followed by Additional Troubleshooters.
- Locate Windows Update Troubleshooter and select on it
Following these steps will give you the exact reason what is causing the nonfunctioning of computer systems, in this case, the Snipping Tool.
3- 2 is a company, 3 is a crowd
What we mean is that maybe there is a third-party software that is causing the Snipping Tool to not work. Maybe there is a new program that you recently downloaded which is interfering with the Snipping Tool. There is the only way to know if, in fact, this is the problem
- In the Windows search bar, type ‘System Configuration’. Open the panel that you see next titled ‘System Configuration’
- On the top, you will find various options. Click on ‘Services’ followed by clicking on all the services that you think maybe interfering with the functioning of the Snipping Tool
- Once done, try to run the tool, and if your guesses were right and a third-party software was causing the problem, the tool should automatically start working
4- Did you give the tool the right permission?

There is a slight chance that the Snipping tool does not have the right permission that it requires to function when running the background. It means that it will only work when you are active on the window of the applications. Make sure to authorize the permission where the app can run even in the background. Here’s how to do it
- Click on the Windows icon on the keypad and go to Settings
- Click on the Privacy button followed by scrolling down and locating the Background application
- Look for Snip & Sketch option and toggle on the permission
These are the 4 main reasons that could be causing the Snipping tool from functioning properly and we hope that by following the steps mentioned above you are able to solve the problem
Conclusion
There is no denying that the Snipping Tool is one of the integral and important features of Microsoft Windows, but like with every other digital system it is bound to run into an error. If all else fails and you are not able to figure out what to do when the Snipping Tool stops working, you can contact the technical services team of the PC or laptop brand you are using or try contacting the customer service Microsoft.