Media Sharing between iPhone and Mac
We frequently transfer files between our gadgets in our daily lives. Among these demands for data transfer, the need to quickly realize how to move files from an iPhone to a Mac or a Mac to an iPhone appears to be more pressing than others. That’s presumably since it’s less common and generally more challenging. Due to this, there are a variety of methods for customers to transfer data between a Mac and an iPhone in this blog. These methods can be used by users to send files from their Mac to their iPhone or from their iPhone to their Mac.

Transferring Files between a Mac and an iPhone
Since Apple created both products, the Mac and iPhone share several technologies that facilitate the file transfer. Users can purchase additional file transfer software, but there is no need for an abundance of useful built-in alternatives. Although the focus of this article is on transferring files from a Mac to an iPhone, users can also use the same methods to move files in the opposite direction.
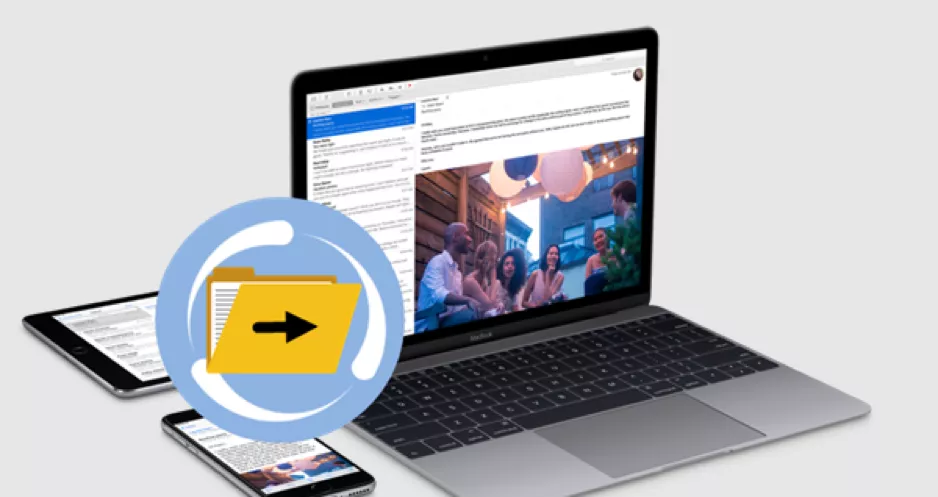
Users can use the dependable iOS data transfer program EaseUS MobiMover to move material like images, videos, or music from their Mac to their iPhone or from their Mac to their iPhone. With it, users can move data from one iPhone to another or share files between an iOS device and a Mac (iPad/ iPhone operating iOS 8 or later). Users can send a single file, several files, or all the files of different types simultaneously between their iPhone and Mac, for instance.
For transferring files between Mac and iPhone, the below 6 techniques can be easily used:
#1. Using AirDrop for Transferring Files from iPhone – Mac
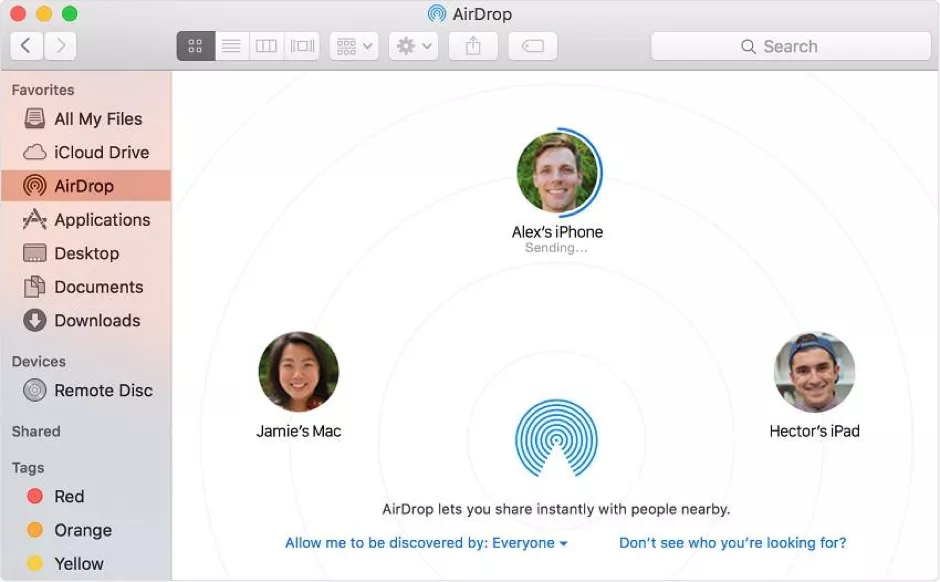
Apple’s wireless file-sharing system is called AirDrop. AirDrop is speedy and incredibly simple if users’ Macs and iPhones are nearby. What needs to be done?
- The iPhone must have AirDrop enabled, and the Mac should also have AirDrop enabled.
- Choose the files to transfer between Mac and iPhone.
- Chick the share sheet (the closed box with the point-up arrow).
- Users’ Mac may be seen as the 1st option in the upper row. If this is the case, click on it for transferring files. If not, check on AirDrop.
- Click on the icon on the Mac for transferring files.
#2. Using Email for Transferring Files from iPhone – Mac
Email has been a useful tool for sharing information as long as the ability to attach files to the emails was provided. The average email account has a 25MB file attachment limit, so if users’ file is under that size, they can proceed as follows:
- Choose the file (any app supporting emailing files is compatible this way).
- Chick on the share sheet.
- Click on the Mail
- In the ‘To’ section, add the users’ email addresses (ensure this email ID is set up on users’ Macs).
- Click on Send.
- On the Mac, launch the email and download the attached file (if users are using Mail, tap on the attachment symbol, Save All, choose the location on the Mac to save the file).
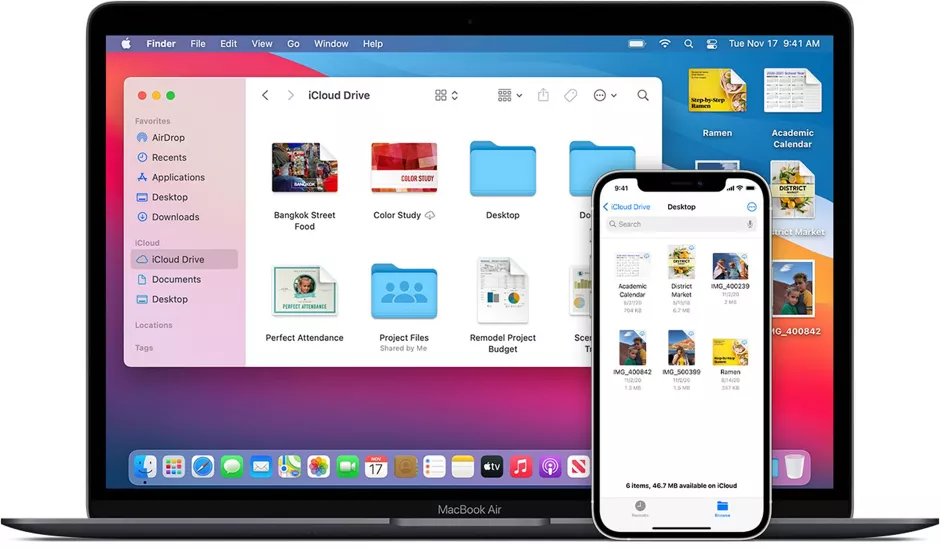
#3. Transferring Photos from iPhone – Mac using iCloud Photos
Use iCloud Photos if all users wish to do is transfer photos. The videos and photos are uploaded to the iCloud Photos section and downloaded to any Mac (or another connected device) using this built-in capability.
- On iPhone, allow iCloud Photos by navigating to Settings, then Photos, then moving the iCloud Photos slider to on/green.
- On Mac, launch the Photos application and tap on Photos, then Preferences.
- iCloud Photos’ checkbox should be selected. Any video or image users take with their apple phones will be automatically posted to iCloud Photos in the background; nothing needs to be done. The video or image will be there when users open the Photos application on the Mac again later.
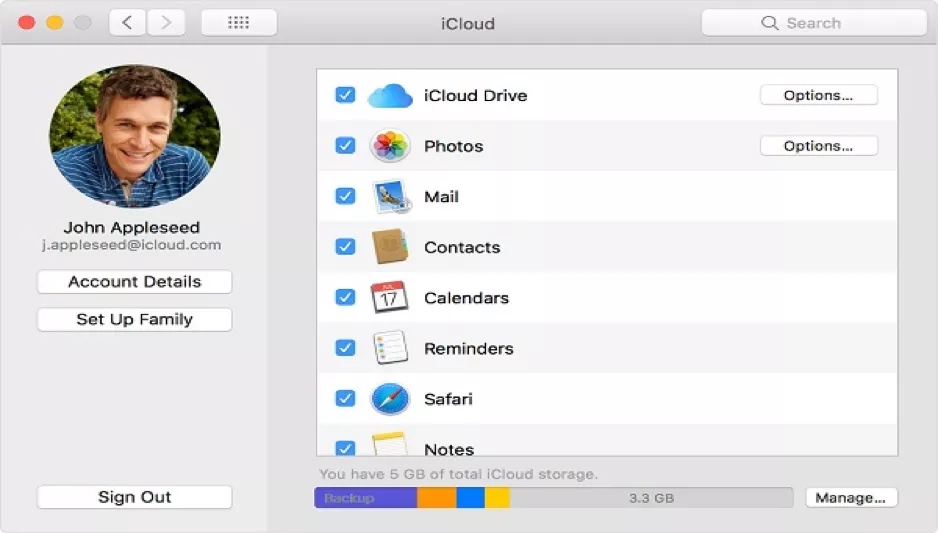
#4. Using iCloud Drive for Transferring Files from iPhone – Mac
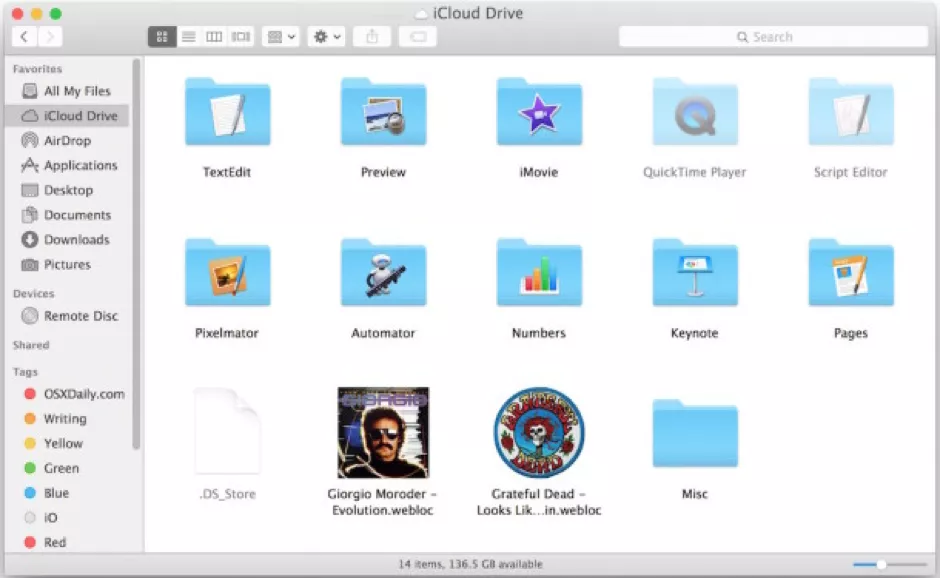
Syncing various types of files among devices is really simple with the help of Apple’s iCloud. Here is what to do.
- Users must sync with iCloud Drive to transfer files with iCloud. On the iPhone, select Settings to get started.
- Tap [name], iCloud, iCloud Drive, and then move the Sync this iPhone slider to green/on.
- Next, allow a similar kind of synchronization on the Mac. Tap on the Apple menu, then the System Preferences.
- Tap the Apple ID.
- Tap on iCloud.
- Check on the box beside the iCloud Drive.
- Expand the iCloud area in the sidebar in a new Finder window.
- Then select iCloud Drive. There are all of the files that were synchronized from users’ iPhones.
- To finish the download to the Mac, click on the download icon.
#5. Transferring files from iPhone – Mac using MobileTrans
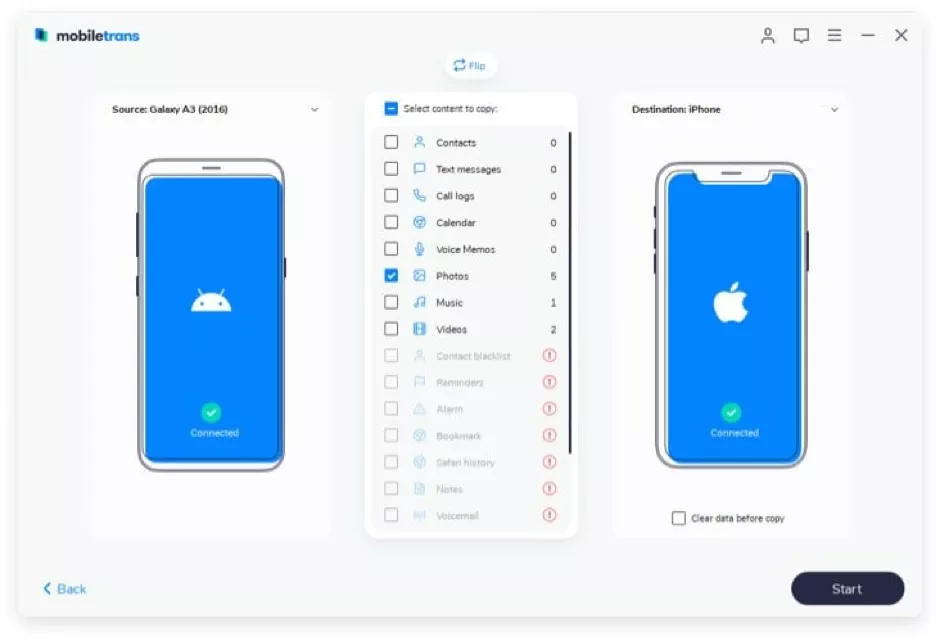
MobileTrans is an effective solution that functions well with all Android and iPhone smartphones. It contains functions for retrieving files from backups, transferring files between phones, and much more. This alternative will undoubtedly provide users with a solution if they have been doubting how to easily transfer files from a Mac to an iPhone without using iTunes.
- Install MobileTrans and link the iPhone to the Mac.
- A USB cable can be used for this. The computer will identify a new device once it is attached. To choose the transfer option, use the MobileTrans program.
- Users should choose the files they want to send. Users may watch all the stored files on their iPhones after finishing this process. Retrieving iPhone files on Mac has been made very easy by MobileTrans since the whole list will be filled in. Choose the specific files to transfer to the Mac.
- To Start Transfer, click on the ‘Start’ button to enable the files to be moved to Mac. Users may choose to back them up on Mac for extraction in the future. The files will get backup to the Mac at the earliest.
#6. Syncing Files from iPhone – Mac
When the iPhone first was launched, syncing it with the computer was the only method to transfer files to the Mac. Even while it may not be employed as frequently as it once was, that strategy still works.
- Connect the iPhone using USB to the Mac (users can also connect through Wi-Fi).
- Open a fresh Finder tab (on Windows, launch iTunes rather and skip to the 4th step).
- In the Locations field of the sidebar, click the iPhone (users may be required to grow Locations by clicking on it).
- Click the Files.
- This displays iPhone applications that can send files to the Mac. For a list of each app’s files, tap on the down arrow.
- To move a file to the desktop or another location on the hard drive, just drag & drop it there.
Wrap Up
Accessing iPhone files on Mac is proven worthwhile in comparison to the use of windows. This is due to the Mac offering more features and being more compatible overall. This is the key reason why, as long as users select the best transfer methods, it is now simple to move data from an iPhone to a Mac and vice versa. Besides the methods listed above, there are a plethora of different ways to move files from a Mac to an iPhone and put all of the data back where they belong. These include copying files using Waltr, iTunes File Sharing, Dropbox, and several other services.